Prepare NFT Files
Learn how to prepare and upload your NFT images and metadata to IPFS
The first step of setting up an NFT smart contract is having your NFT files ready to use. In this guide, we'll upload files to Pinata, a pinning service that prevents files from being garbage collected on IPFS.
If you don't already have a Pinata account, please create one before proceeding. The free tier is sufficient for this tutorial.
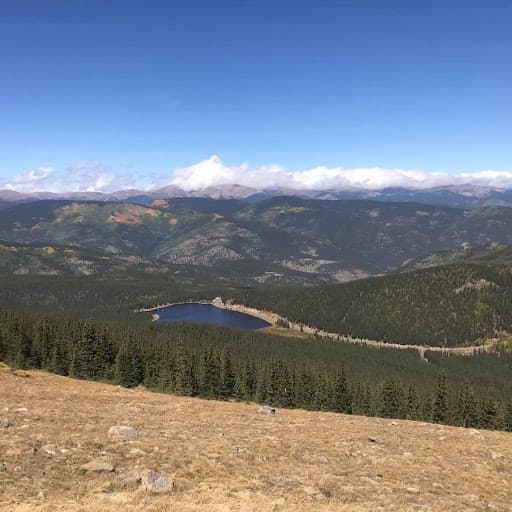
Preparing the Images
This tutorial will create only 1 NFT, however, if you're interested in creating more, you're more than welcome to do so.
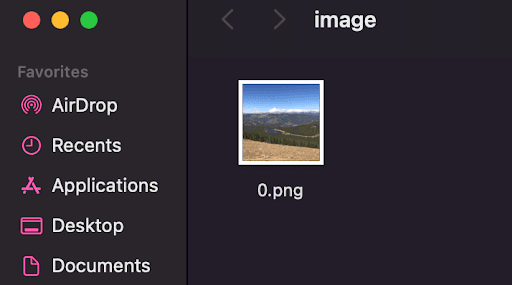
Organizing Your Images
- Create a folder on your computer for your NFT images
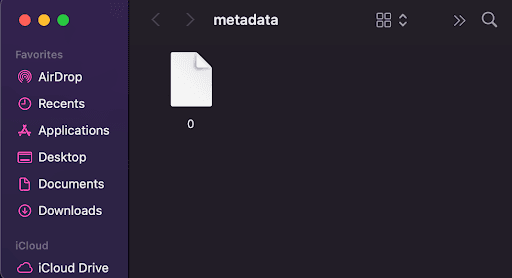
- Name your image file
0(without any file extension visible) - If creating multiple NFTs, continue naming them sequentially:
0,1,2, etc.
Important: Some projects start file names with 0, and others with 1. That choice must be consistent with your smart contract code. For this tutorial, we'll start with 0.
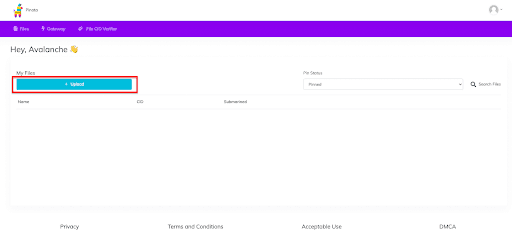
Uploading Images to Pinata
- Log into your Pinata dashboard
- Click the Upload button on the left sidebar
- Select Folder from the upload options
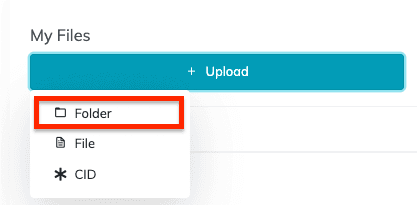
- Select the folder containing your image(s)
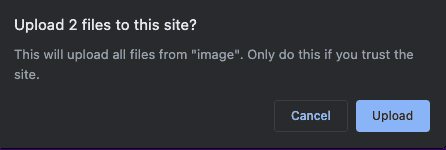
- Confirm the upload if prompted by your browser
- Give your folder a descriptive name (this helps organize multiple collections)
- Click Upload and wait for the process to complete
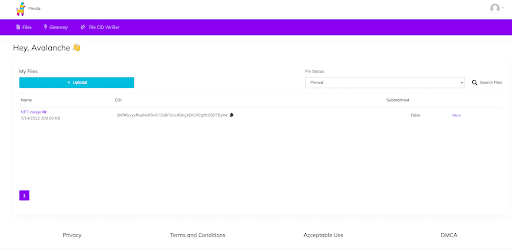
Once the upload is complete, you'll see your folder in the dashboard:
Getting Your Image URL
- Click on the folder name to view it through the Pinata gateway
- Right-click on your image and copy the URL
- Save this URL - you'll need it for the metadata file
Example URL: https://gateway.pinata.cloud/ipfs/QmPWbixyMsaNkR9v612bBFbncKGmgXDKz9CgMtDDD7Bymw/0.png
Creating Metadata Files
Now that we have the image uploaded, we need to create matching metadata files. Since we're creating an ERC-721 NFT, we'll use the standard metadata format used by marketplaces like Joepegs.com.
Metadata Structure
The basic metadata structure looks like this:
{
  "name": "",
  "tokenId": 0,
  "image": "",
  "description": "",
  "attributes": []
}
Populating the Metadata
Let's fill in each field:
- name: Choose any name for your NFT
- tokenId: Use
0to correspond with your first image (increment for additional NFTs) - image: Paste the image URL you copied from Pinata
- description: Describe your NFT
- attributes: Optional array for traits (useful for collections with layers/rarity)
Example completed metadata:
{
  "name": "Cool Photography",
  "tokenId": 0,
  "image": "https://gateway.pinata.cloud/ipfs/QmPWbixyMsaNkR9v612bBFbncKGmgXDKz9CgMtDDD7Bymw/0.png",
  "description": "A cool image"
}
The attributes field is particularly useful for NFT collections with multiple layers. It's used to calculate rarity and rank NFTs based on how frequently their traits appear throughout the collection. For this simple example, we've omitted it.
Saving the Metadata File
- Save this JSON content as a file named
0(matching your image name) - Remove the file extension so it's just
0, not0.json
Critical: The metadata file must NOT have a .json extension when uploaded to Pinata. The IPFS gateway will serve it as a directory, and your smart contract will be able to fetch it correctly.
- Place the metadata file in a separate folder from your images
Uploading Metadata to Pinata
- Repeat the folder upload process for your metadata folder
- Follow the same steps as you did for the images
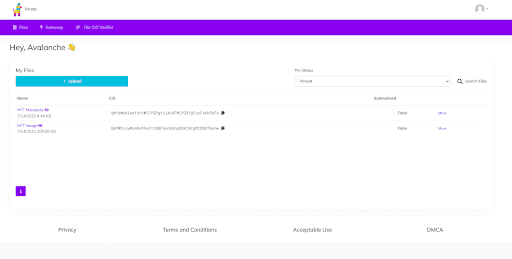
- Once uploaded, both folders should appear in your dashboard
Getting Your Base URI
- Click on the metadata folder to view it in the IPFS gateway
- Copy the URL - this is your Base URI
- Important: Use only the folder URL, not the individual file URL
Example Base URI: https://gateway.pinata.cloud/ipfs/QmYdWxbiwsfsYcW1CYQPgYujAc9FMLPG3fgFcxFskbSsFa
The smart contract will automatically append the token ID to this base URI when fetching metadata for each NFT.
File Preparation Checklist
Before moving to the next section, ensure you have:
- ✅ Images uploaded to Pinata in a folder
- ✅ Metadata files created with correct structure
- ✅ Metadata files named to match image files (0, 1, 2, etc.)
- ✅ Metadata files uploaded to Pinata in a separate folder
- ✅ Base URI copied and saved
Next Steps
Now that your NFT files are prepared and uploaded to IPFS, you're ready to create and deploy your smart contract. In the next section, we'll use OpenZeppelin's Contract Wizard to generate an ERC-721 contract customized for your collection.
Is this guide helpful?