Deploy and Mint Your NFT
Deploy your ERC-721 contract to Avalanche and mint your first NFT
Now it's time to deploy your NFT smart contract to the Avalanche network and mint your first NFT!
Prerequisites
Before deploying, ensure you have:
Core Wallet Extension
You'll need the Core browser extension to fund and deploy your contract. If you haven't installed it yet:
- Download Core Extension
- Create or import a wallet
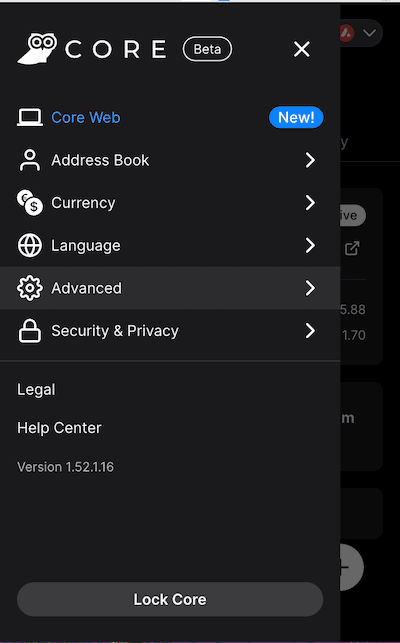
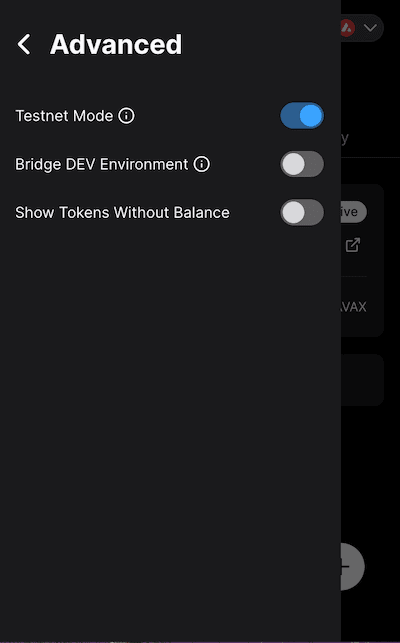
- Enable Testnet Mode:
- Go to Settings → Advanced
- Turn on Testnet Mode
- Core will automatically switch to Fuji Testnet
Other Wallets: If using MetaMask or another wallet, add Fuji Testnet manually:
- Network Name: Avalanche Fuji C-Chain
- RPC URL:
https://api.avax-test.network/ext/bc/C/rpc - Chain ID:
43113 - Symbol: AVAX
- Explorer:
https://testnet.snowtrace.io
Testnet AVAX
You'll need AVAX on the Fuji testnet to pay for gas fees.
Option 1 (Recommended):
- Create a Builder Hub account
- Connect your wallet to receive testnet AVAX automatically
Option 2:
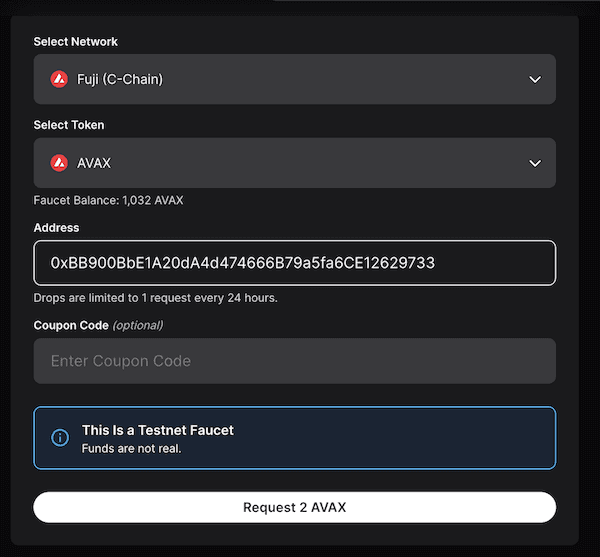
- Use the Avalanche Faucet
- If you have AVAX on Mainnet, paste your C-Chain address and request test tokens
- Otherwise, request a faucet coupon on Guild
Deploying with Remix IDE
Remix IDE is a browser-based Solidity compiler that makes it easy to compile and deploy smart contracts without installing any software.
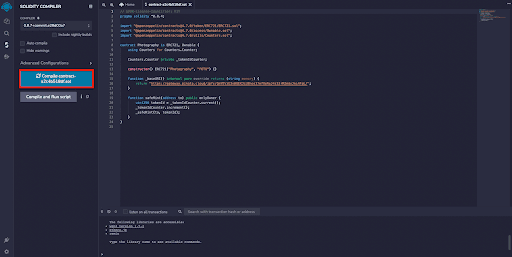
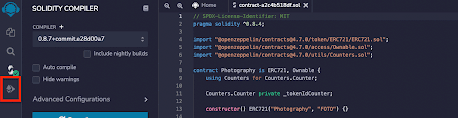
Step 1: Compile Your Contract
After importing your contract from OpenZeppelin Wizard:
- Click the Compile button on the left sidebar (or press
Ctrl/Cmd + S) - Wait for the green checkmark to appear
You may see options to "Publish on IPFS" or "Publish on Swarm" - these aren't necessary for this tutorial.
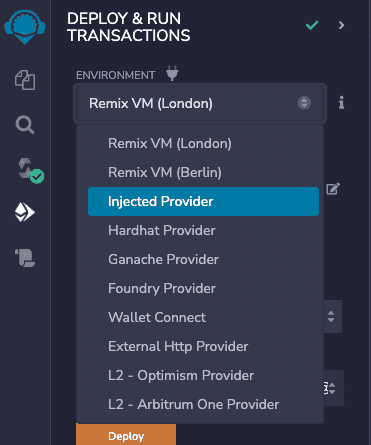
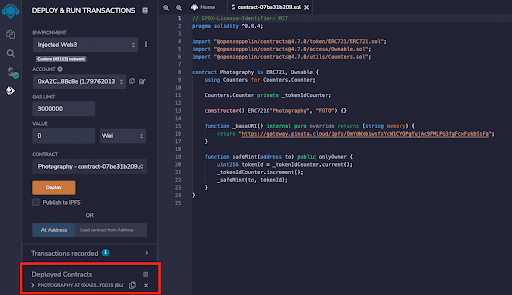
Step 2: Configure Deployment
- Click the Deploy & Run Transactions tab (bottom icon on left sidebar)
- Change the Environment dropdown to Injected Provider - MetaMask
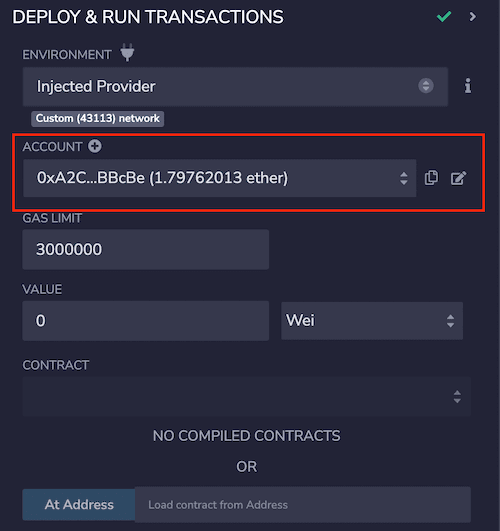
-
Core will prompt you to connect - approve the connection
-
Verify the connection by checking that the Account matches your Core address

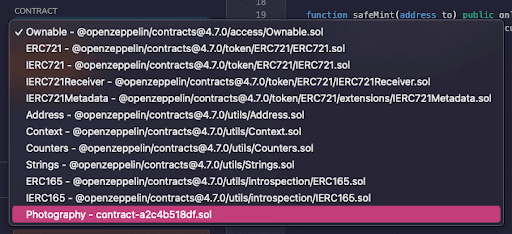
Step 3: Select Your Contract
In the Contract dropdown, select your contract (it will have the name you gave it in the wizard).
Step 4: Deploy
- Click the orange Deploy button
- Core will open and ask you to confirm the transaction
- Review the gas fee and click Confirm
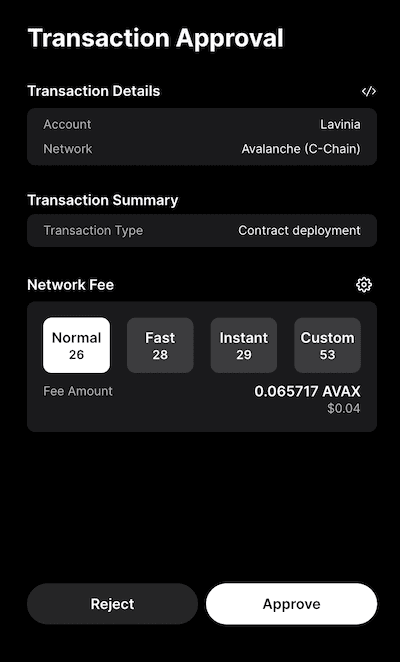
- Wait for the transaction to be confirmed
Your deployed contract will appear under Deployed Contracts:
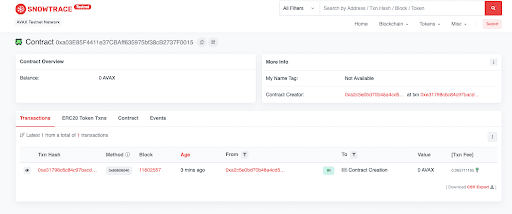
Step 5: Verify on Snowtrace
- Copy your contract address from Remix
- Open Snowtrace Testnet Explorer
- Paste the address in the search bar
You'll see your contract information, including the deployment transaction:
Minting Your First NFT
Now that your contract is deployed, let's mint an NFT!
Step 1: Access the safeMint Function
- In Remix, expand your deployed contract
- You'll see a list of available functions
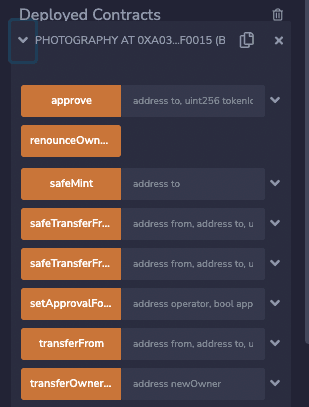
- Click the dropdown arrow next to safeMint to expand it
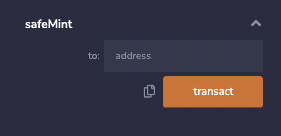
Step 2: Mint to Your Address
- Copy your Core wallet address
- Paste it into the
toaddress field - Click the orange transact button
You can mint to any address, not just your own. This is useful for gifting NFTs or airdrops!
- Confirm the transaction in Core
- Wait for the green checkmark in the Remix terminal

Step 3: Verify the Mint
- Return to your contract page on Snowtrace
- Refresh the page
- You should see a new transaction for
safeMint
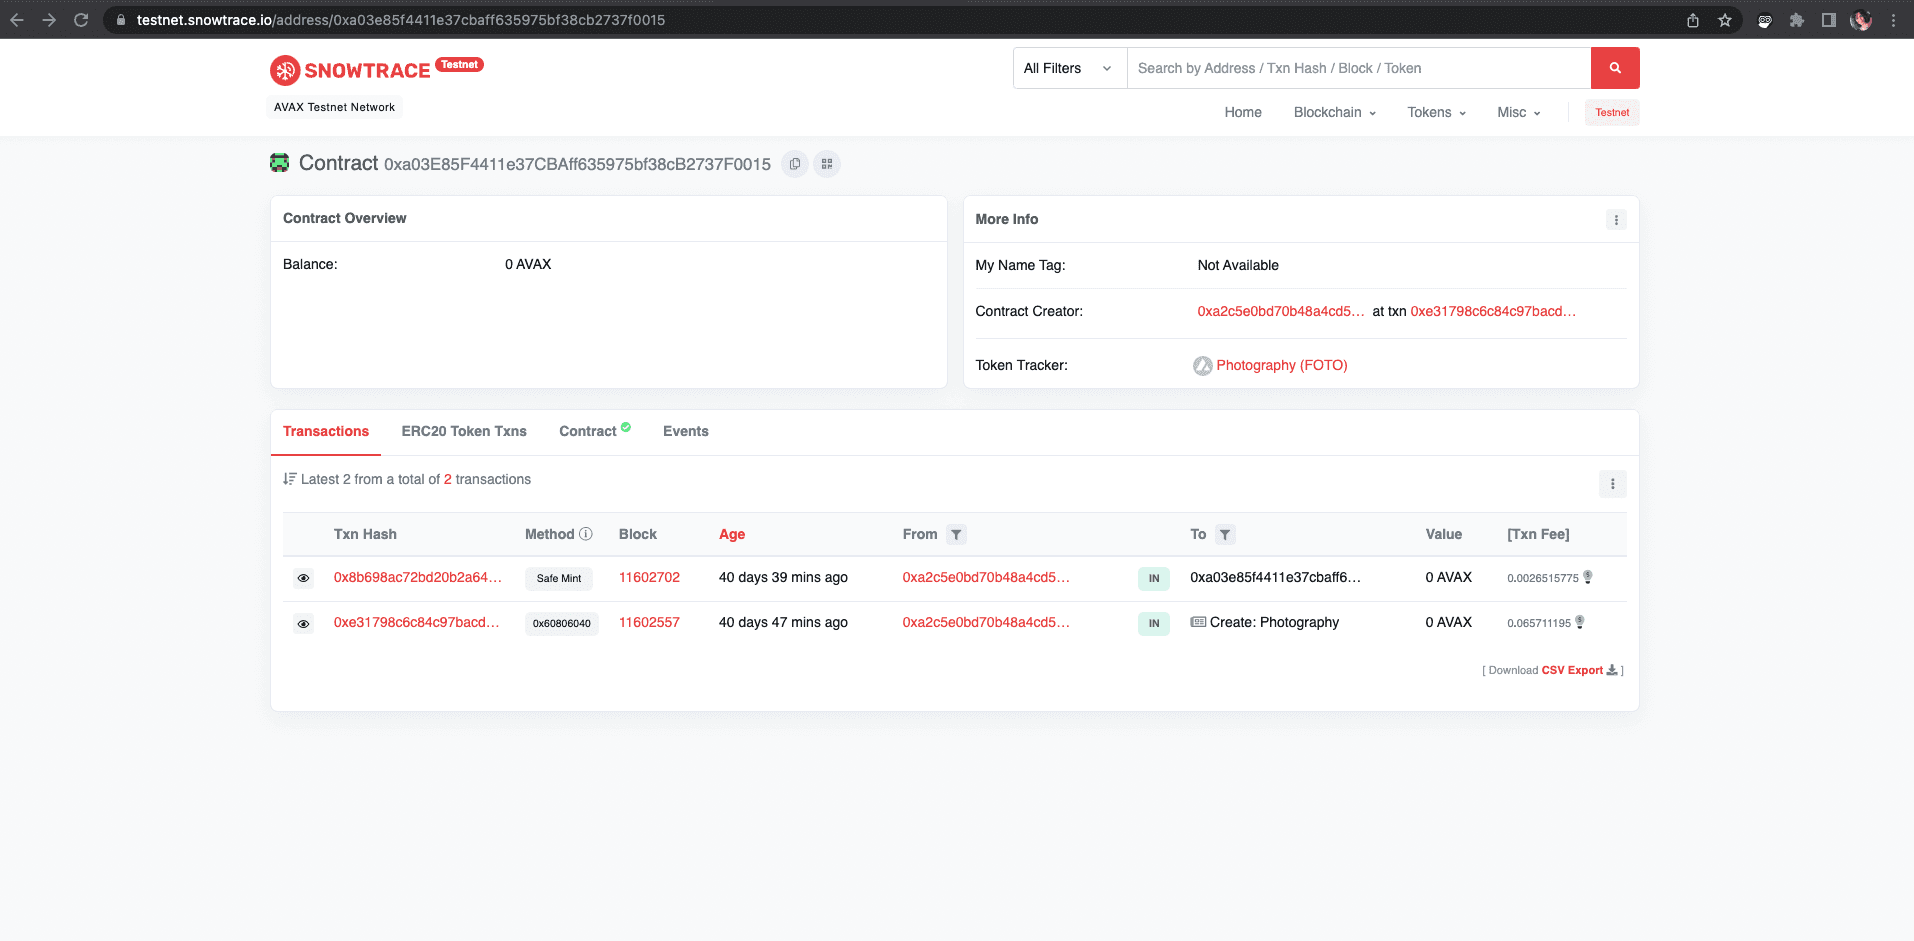
- Click on the TX Hash to view details
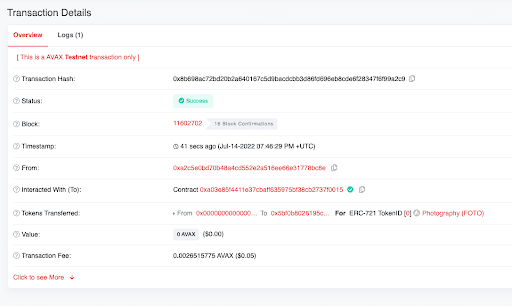
Congratulations! You've successfully minted your first NFT! 🎉
Viewing Your NFT
Your NFT is now:
- Recorded on the Avalanche blockchain
- Owned by your wallet address
- Linked to your metadata and image on IPFS
You can view it:
- On Snowtrace (under the "Token Transfers" tab)
- In your Core wallet (NFT section)
- On NFT marketplaces that support Avalanche testnet
Deploying to Mainnet
When you're ready to launch your project on Mainnet, the process is identical except:
- Switch to Mainnet: Disable Testnet Mode in Core
- Get Real AVAX: You'll need actual AVAX to pay for gas fees
- Use Mainnet Snowtrace: View transactions at snowtrace.io
- List on Marketplaces: Your NFTs can be listed on platforms like Joepegs
Before Mainnet Deployment:
- Thoroughly test your contract on testnet
- Consider a professional audit for valuable collections
- Ensure your IPFS files are permanently pinned
- Have a clear minting strategy and pricing
Next Steps
Now that you've deployed and minted your NFT, you might want to:
- Mint additional NFTs from your collection
- Learn about token URIs and metadata standards
- Explore advanced features like royalties and allowlists
- Build a custom minting dApp for your collection
In the next section, we'll dive deeper into how token URIs work and how your NFTs connect to their metadata.
Is this guide helpful?